|
In my latest vlog, I not only provided you with the usual writing inspiration, but also gave you a tour of my vision board. So, I thought it was only appropriate to blog the four steps I took to create my vision board. First off, why create a vision board? A vision board is a way to help clarify your goals and vision for your life. Not only that, but it can serve as a subconscious way to help make those goals happen. If you are constantly starring at your vision board, the lifestyle reflected on that board will make its way into your subconscious and, eventually, your life! Step 1: Write down what your dream life would look like When I first started my vision board, I was unsure what to put on it. I like to read and I wanna be a writer so books? After I delved into how to create a vision board that works, I learned it was about more than just my ideal job or what I liked to do--it was about encompassing every part of my ideal life. Write down what your ideal life would look like across different areas. What is your ideal health routine? Profession? Audience reach? Home? Love life? Friendship types? Adventures and vacations? Values to live by? The list can go on and on. A great exercise if you're unsure what to write about your ideal life is to close your eyes and meditate on the feelings you want to bring into your life. See what images accompany those feelings and write them down. Step 2: Find images to represent those ideals Once you have your list of things in your ideal life, it's time to find the images to go with it. One of my favorite places to look is Pinterest. In the past, I've gotten my images for vision boards from Pinterest and even made sure they fit an ideal color scheme, but since my printer broke and can no longer print in color, I had to resort to magazines. While less aesthetic, you'd be surprised what you can find in magazines. The only magazines I could find lying around my house were local ones delivered for free, yet I could still find images of my ideal office, vacations, bookish life, etc.! Even if the magazines you own seem to have nothing to do with your ideal life, you might be surprised what images and text you can recontextualize to fit your ideal life. 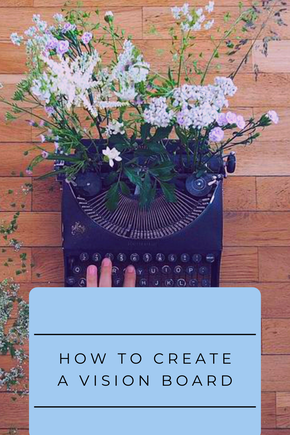 Step 3: Aesthetics Once you have all the images you want to use, it's time to make them look pretty. If you're using images from Pinterest, Google, images, or somewhere online, I recommend using a photo editing app to give them all a similar filter. Something free like Canva, VSCO, or the Lightroom photo app should do the trick. After you have your images printed, try to cut them out and organize them so they fit your aesthetic. For example, I'm very into vintage, cozy vibes so I cut my images to create soft boards and included parchment paper with cursive, sunflowers, and other elements to create a soft, vintage vibe for my board. Step 4: Put the vision board somewhere you'll see it every day A vision board does no good in your closest or behind your bookshelf. It needs to be out in a place where you'll see it everyday. For me, I put mine underneath my goals whiteboard. That way, every time I look at my weekly goals and tasks, I also see my vision board. In fact, keeping your vision board in your home office, bedroom, kitchen, or wherever you work on your passion projects could be a good idea! By placing your vision board somewhere visible and also where you work on creating your dream life, you are ensuring the images of your dream life enter into your subconscious every day while you're working on your goals. Honestly can't think of a better location! Do you have a vision board? What do you have on it?
0 Comments
Leave a Reply. |
AuthorI'm Angela Anne, a Young Adult contemporary writer committed to helping you achieve your writing goals + giving you writing inspiration. ArchivesCategories
All
|
 RSS Feed
